Why This Vegan Pie Crust Gluten Free Recipe Changes Everything
For too long, the quest for a truly flaky, tender, and delicious pie crust has been a culinary Everest for those navigating the worlds of gluten-free and vegan baking. Many have faced the disappointment of crumbly, dry, tough, or even gummy crusts that simply don't hold up to the glorious fillings they cradle. But what if we told you that the days of compromise are over? Get ready to discover a game-changing vegan pie crust gluten free recipe that delivers on all fronts: incredible flavor, perfect texture, and surprising ease of preparation.
This isn't just another pie crust recipe; it's the culmination of extensive testing and a deep understanding of what makes a pie crust truly sing. Forget the myth that a robust, buttery (without dairy, of course!), and crisp crust is impossible without traditional ingredients. This particular formulation shatters those preconceived notions, proving that a reliable, easy-to-make, and utterly delicious gluten-free and vegan pie crust is not only possible but well within your grasp. It's so good, in fact, that many won't even realize it adheres to these dietary needs. This recipe is destined to become your new go-to for all things pie, simplifying your baking endeavors and impressing every palate.
Whether you're crafting a sweet dessert or a savory sensation, the foundation of a great pie lies in its crust. With this recipe, you're not just making a crust; you're building the perfect stage for your culinary creations. For more inspiration on how this crust can elevate your dishes, check out The Best Vegan Gluten-Free Pie Crust for Sweet & Savory Pies.
Step-by-Step Guide: Crafting Your Flaky Masterpiece
Creating a truly flaky vegan pie crust gluten free isn't about complexity; it's about understanding a few key principles and executing them with care. Our approach breaks it down into four straightforward steps, ensuring success even for novice bakers.
1. The Flour and Fat Foundation
The journey to a perfect crust begins with the right blend of ingredients and how they are combined. Start by whisking your chosen 1:1 gluten-free flour blend with a pinch of salt in a large bowl. The "1:1" aspect is crucial here, as these blends are specifically formulated to mimic the properties of all-purpose wheat flour, providing a neutral taste and sturdy structure without the gluten.
Next comes the star of flakiness: cold vegan butter. This isn't just a suggestion; it's a non-negotiable for achieving that coveted layered texture. The colder the butter, the better. As it melts in the oven, it releases steam, creating pockets of air that separate the layers of dough, resulting in a beautifully flaky crust. The secret is to incorporate it by hand, pressing it into distinct "flakes" rather than blending it into tiny, uniform pieces. This manual method allows for larger butter pieces to remain intact, maximizing the flakiness. A pro-tip: if your vegan butter is a bit too soft, pop it in the freezer for 10-15 minutes, or even grate it directly into the flour for perfectly cold, manageable pieces.
2. Sweetness, Hydration, and the All-Important Chill
Once your flour and butter are integrated, it's time to introduce the liquid elements. A small amount of maple syrup serves a dual purpose: it adds a subtle, natural sweetness that complements both sweet and savory fillings, and it contributes to the crust's structure and helps achieve that classic golden-brown hue during baking.
Following the maple syrup, water is added to bring the dough together. This is a critical step where less is often more. Add cold water one tablespoon at a time, mixing gently until the dough just comes together. You're aiming for a soft, workable dough, not a sticky mess. Over-hydrating can lead to a tough crust, while too little water will make it crumbly. Trust your instincts here; the dough should feel cohesive but not wet.
After mixing, it's time for a brief but essential chill. A mere 15 minutes in the refrigerator is all it takes. This quick chill allows the vegan butter to firm up slightly without becoming rock-hard, making the dough incredibly easy to roll out with minimal cracking. This short chilling time means less waiting and more baking!
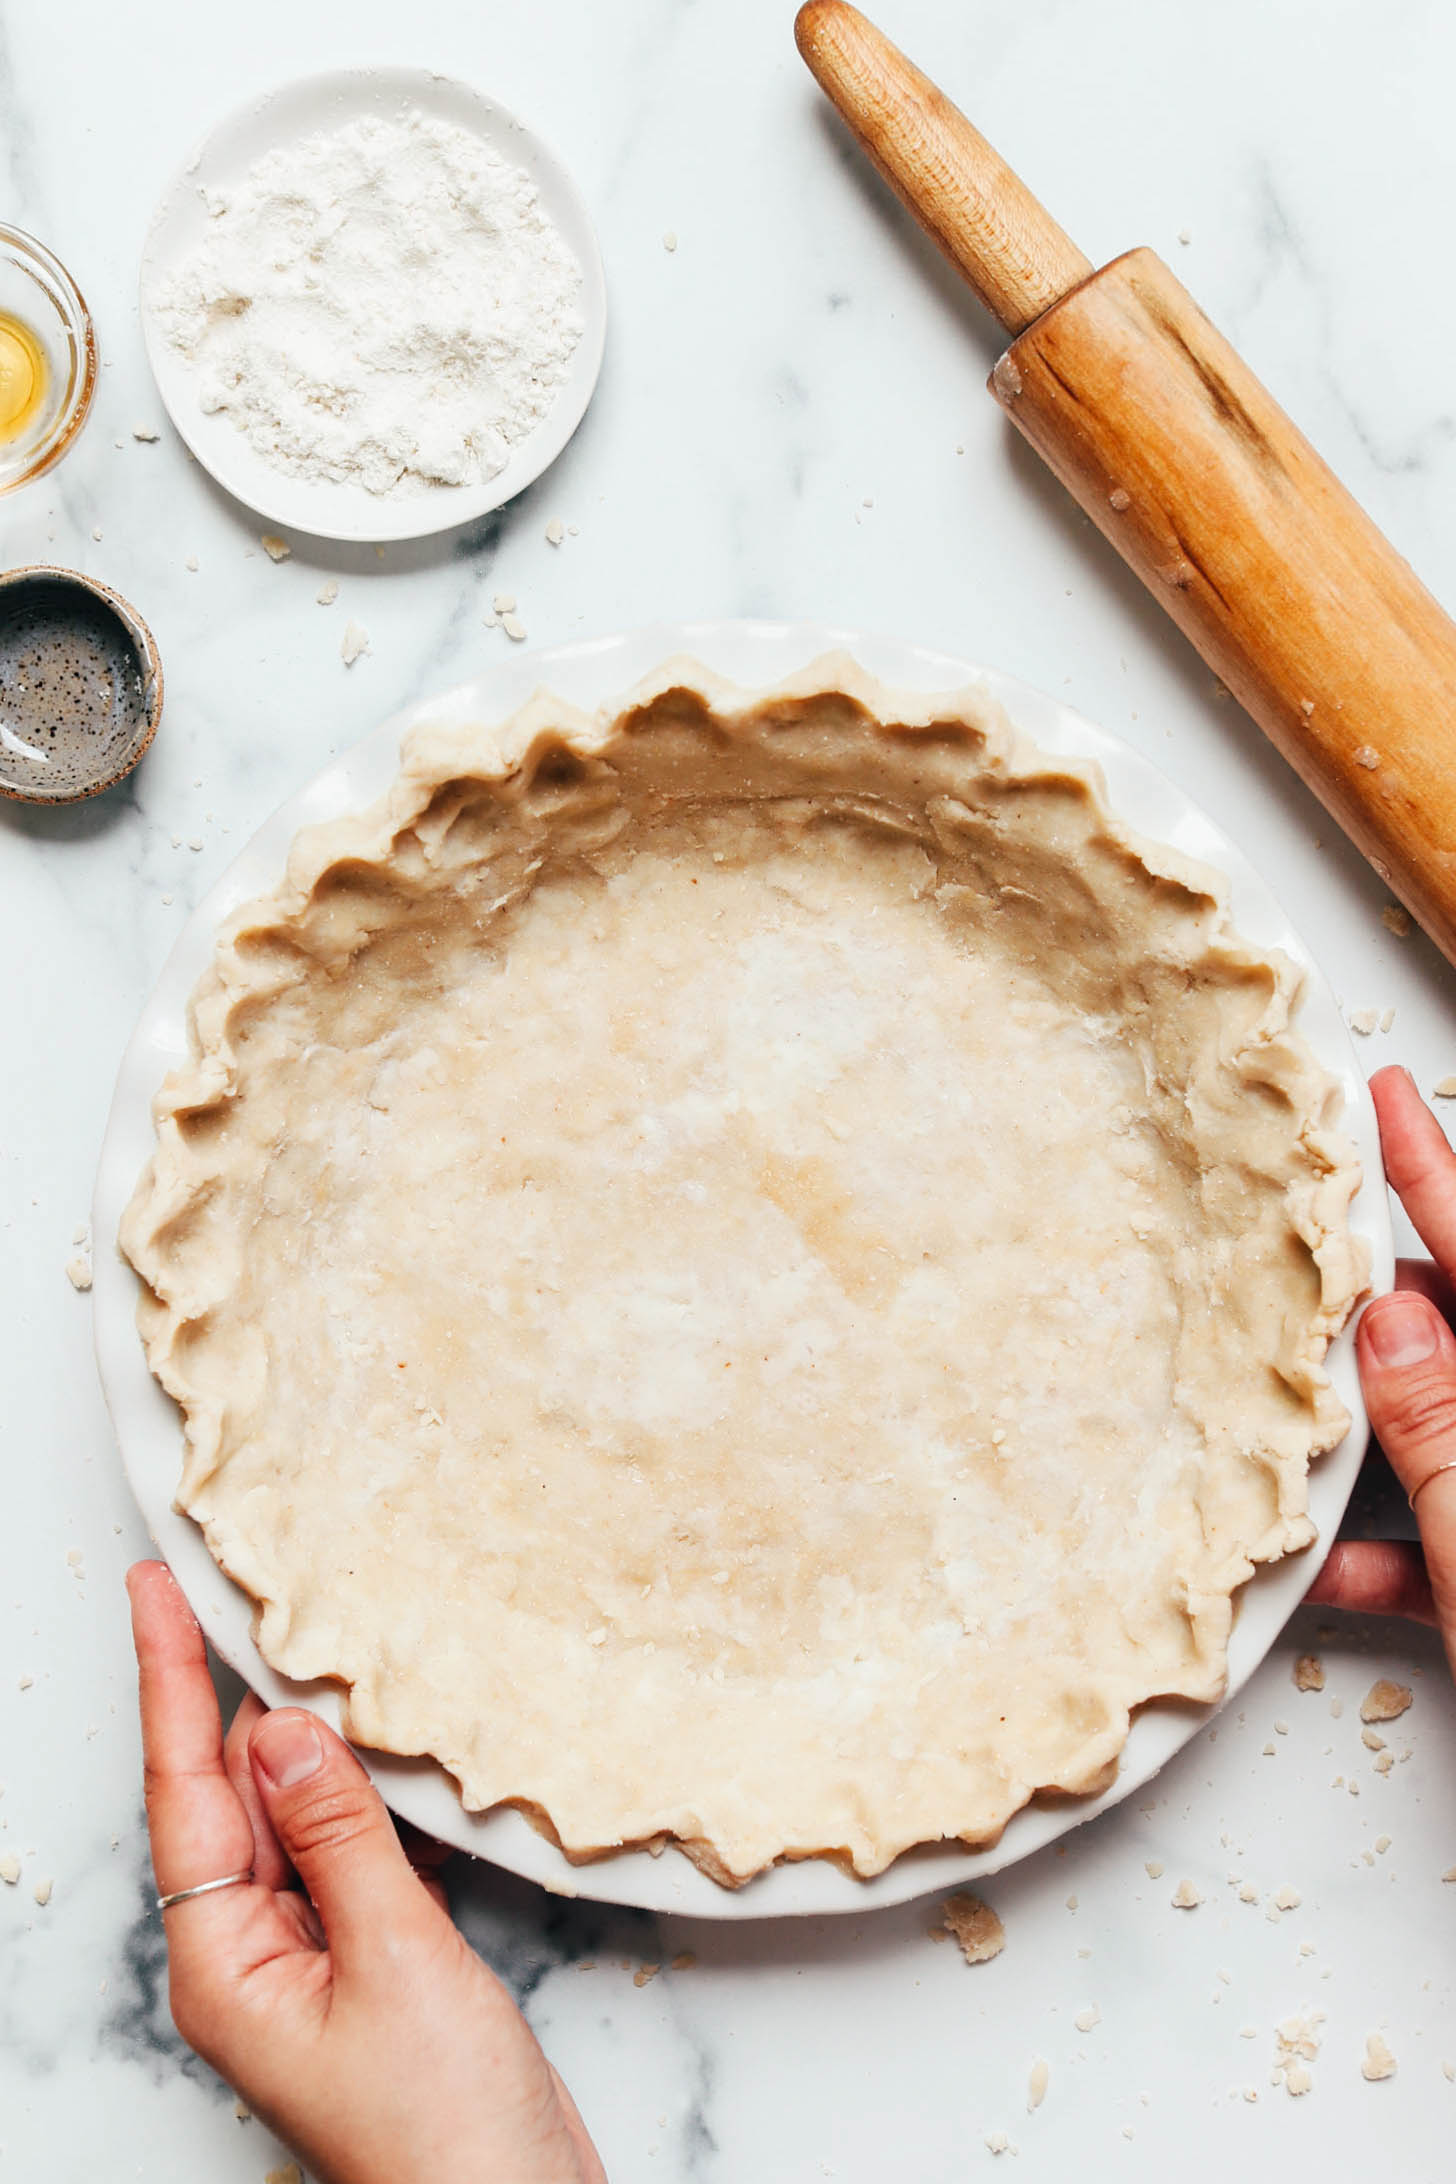
3. Rolling with Confidence and Fixing Flaws
With a perfectly chilled dough, rolling becomes a surprisingly stress-free experience. Place your dough between two sheets of parchment paper for effortless rolling and easy transfer, preventing sticking and minimizing the need for additional flour. Roll it out to your desired thickness, typically about 1/8 to 1/4 inch.
Once rolled, it's time for the "courageous flip" into your pie pan. Gluten-free dough can sometimes be a little more delicate, but don't fret over minor imperfections. Any cracks that appear can be easily "smushed" and patched with a little extra dough or by simply pressing the existing dough together. This forgiving nature is one of the joys of working with this particular vegan pie crust gluten free. Finish by crimping the edges for a beautiful, classic pie crust look that's ready for its filling.
4. The Essential Par-Bake
This final step before filling is arguably the most crucial for a flawless gluten-free vegan pie crust: par-baking (or blind baking). For gluten-free crusts, this step is vital for preventing a soggy bottom, especially when working with wet fillings like fruit pies or quiches. Par-baking ensures the crust sets and crisps up perfectly underneath your filling.
Preheat your oven and bake the empty crust for 15-20 minutes, or until it's lightly golden and firm. If you're blind baking the crust completely (for a no-bake filling, for example), you'll want to extend the baking time slightly and use pie weights or dried beans to prevent the crust from bubbling or shrinking. This pre-baking step guarantees a tender bottom and crispy edges, no matter what deliciousness you fill it with.
Expert Tips for Vegan Pie Crust Gluten Free Success
While the four steps outline the core process, a few additional insights can elevate your pie crust from good to truly exceptional:
- Measure Accurately: Baking, especially gluten-free baking, thrives on precision. Using a kitchen scale to measure your flour by weight (grams) rather than volume (cups) is highly recommended for the most consistent results. If a scale isn't available, make sure to spoon your flour into the measuring cup and level it off rather than scooping directly, which can compact the flour.
- Don't Overwork the Dough: Gentle handling is key. Once the water is added, mix just enough to bring the dough together. Overworking develops toughness, even in gluten-free dough, by breaking down starches and fats.
- Listen to Your Dough: Humidity and different flour blends can subtly affect moisture needs. If your dough feels too dry and crumbly, add another half-tablespoon of water. If it's too sticky, a tiny bit more flour can help. Trust your intuition.
- Parchment Paper is Your Best Friend: As mentioned, rolling between two sheets of parchment paper makes a world of difference. It prevents sticking, simplifies transfer, and minimizes mess, allowing you to focus on an even roll.
- Don't Fear the Patch: Seriously, no one will know if you had to patch a crack. Gluten-free dough is incredibly forgiving in this regard, easily melding back together with a gentle press of your fingers. Embrace the imperfections and fix them with confidence.
- Chill for Flavor, Too: While the 15-minute chill is for ease of rolling, letting your dough chill for a bit longer (e.g., 30 minutes or even overnight) can deepen flavors and make the butter even firmer for an extra-flaky result, if time allows.
Endless Possibilities: Sweet and Savory Pies
The true beauty of mastering this vegan pie crust gluten free recipe lies in its incredible versatility. Once you have this reliable base, your culinary imagination can run wild. It's robust enough to stand up to hearty savory fillings and delicate enough to complement the most exquisite sweet concoctions.
Imagine the possibilities for sweet pies: a classic pumpkin pie for the holidays, a vibrant lemon meringue (with aquafaba meringue, of course!), a rich chocolate cream pie, a comforting apple pie with a lattice top, or even a decadent salted chocolate pecan pie. The slightly sweet, buttery notes of the crust enhance every bite, making it an unforgettable experience.
And let's not forget the savory realm! This crust is equally at home embracing fillings like a garden-fresh tomato and basil quiche, a hearty pot pie brimming with vegetables and a creamy sauce, or a flavorful kale and mushroom tart. The crispness of the par-baked crust prevents sogginess, ensuring a satisfying texture with every forkful. This truly is the versatile base you need to make all your pie dreams come true, regardless of their sweet or savory nature. For even more detailed guidance on making an exceptional crust, explore Easy Vegan Gluten-Free Pie Crust: Flaky, Buttery, & Oil-Free.
Say goodbye to the days of difficult, disappointing pie crusts. With these simple steps and expert tips, you now possess the knowledge and confidence to create a flaky, buttery, and utterly delicious vegan pie crust gluten free that will fool even the most discerning palates. It's reliable, easy to make, and opens up a world of pie-making possibilities. So go ahead, grab your apron, and get ready to impress your friends and family with your newfound pie-making prowess!
