Discover the Dream: Easy Vegan Gluten-Free Pie Crust That's Flaky, Buttery, & Oil-Free
For anyone navigating the culinary landscape of dietary restrictions, the idea of a truly delicious pie can often feel like a distant dream. Dry, crumbly, or bland crusts are a common lament for those seeking vegan, gluten-free, or even oil-free options. But what if we told you that the holy grail of pie crusts exists? A crust so remarkably flaky, buttery in texture (without the dairy!), and surprisingly easy to make – a vegan pie crust gluten free that's also oil-free, defying all expectations. This isn't just another compromise recipe. This is a game-changer that will have even the most discerning pie aficionados asking for your secret. Imagine a crust so good, no one will guess it’s free from gluten, dairy, *and* added oils. It’s the perfect blend of simplicity and exquisite taste, opening up a world of possibilities for both sweet and savory creations. Forget fancy equipment or the tedious task of keeping ingredients ice-cold; this recipe makes achieving pie perfection accessible to everyone.The Holy Grail of Pie Crusts: Why This Recipe Shines
What makes this particular vegan gluten-free pie crust truly stand out? It's the masterful combination of ingredients and techniques that addresses common pitfalls in specialty baking, resulting in a crust that is:- Unbelievably Flaky: The kind of flaky that shatters delicately with each bite, a hallmark of any great pie crust.
- Richly Buttery (Without Dairy!): Achieved through smart ingredient choices that deliver a decadent mouthfeel and flavor.
- Oil-Free & Healthy: A unique characteristic for such a high-performing crust, relying on the natural goodness of whole ingredients.
- Effortlessly Easy: Requiring just one bowl and no complicated steps, it demystifies pie making.
- Incredibly Versatile: A perfect canvas for virtually any pie filling you can dream up.
Mastering the Art of Oil-Free Flakiness: Key Ingredients & Techniques
Creating an oil-free, flaky, and buttery vegan pie crust gluten free might sound like a magic trick, but it's simply smart baking. Here's how it works:The Power of Almond Flour
Unlike many gluten-free flours that can be notoriously tricky, almond flour is a star player in this recipe. Its fine texture, natural fat content, and subtle sweetness contribute significantly to the crust's tender crumb and buttery feel. It’s also relatively easy to measure accurately even without a kitchen scale, making it beginner-friendly.
- Measuring Matters: While almond flour is forgiving, precision still counts. Using the spoon-and-level method (spooning flour into the measuring cup then leveling with a straight edge) helps prevent over-packing, which can lead to a dense crust.
- Neutral, Yet Rich Flavor: Almond flour has a naturally delicate flavor that complements both sweet and savory fillings without overpowering them.
Essential Supporting Cast
Beyond almond flour, a few other simple ingredients complete this crust:
- A Touch of Sweetness: A small amount of maple syrup (or similar liquid sweetener) isn't just for taste; it aids in structure, helps achieve that classic golden-brown color during baking, and adds to the overall tenderness.
- A Pinch of Salt: Essential for balancing flavors and enhancing the richness of the crust.
- Cold Water: The binding agent. Adding it one tablespoon at a time is crucial. You want just enough to bring the dough together into a soft, workable ball, without making it sticky or tough. Cold water helps keep the dough pliable and prevents it from becoming overly sticky during handling.
Techniques for Unrivaled Success
Even with the right ingredients, technique is key to achieving that perfect texture:
- Gentle Mixing: Combine your dry ingredients first, then gradually add the wet. Avoid overworking the dough, as this can develop any residual gluten-like proteins in gluten-free flours, leading to a tougher crust. Mix just until combined.
- The Chill Factor: While this recipe is forgiving about intense chilling, a short rest in the refrigerator (even 15-20 minutes) makes a world of difference. Chilling allows the ingredients to hydrate fully and the dough to firm up, making it much easier to roll out with minimal cracking.
- Rolling with Confidence: Place the chilled dough between two sheets of parchment paper for effortless rolling. This prevents sticking and makes transferring to your pie dish a breeze. Don't worry if a few cracks appear; they are easily patched up with a little gentle pressure or by pressing in small pieces of excess dough.
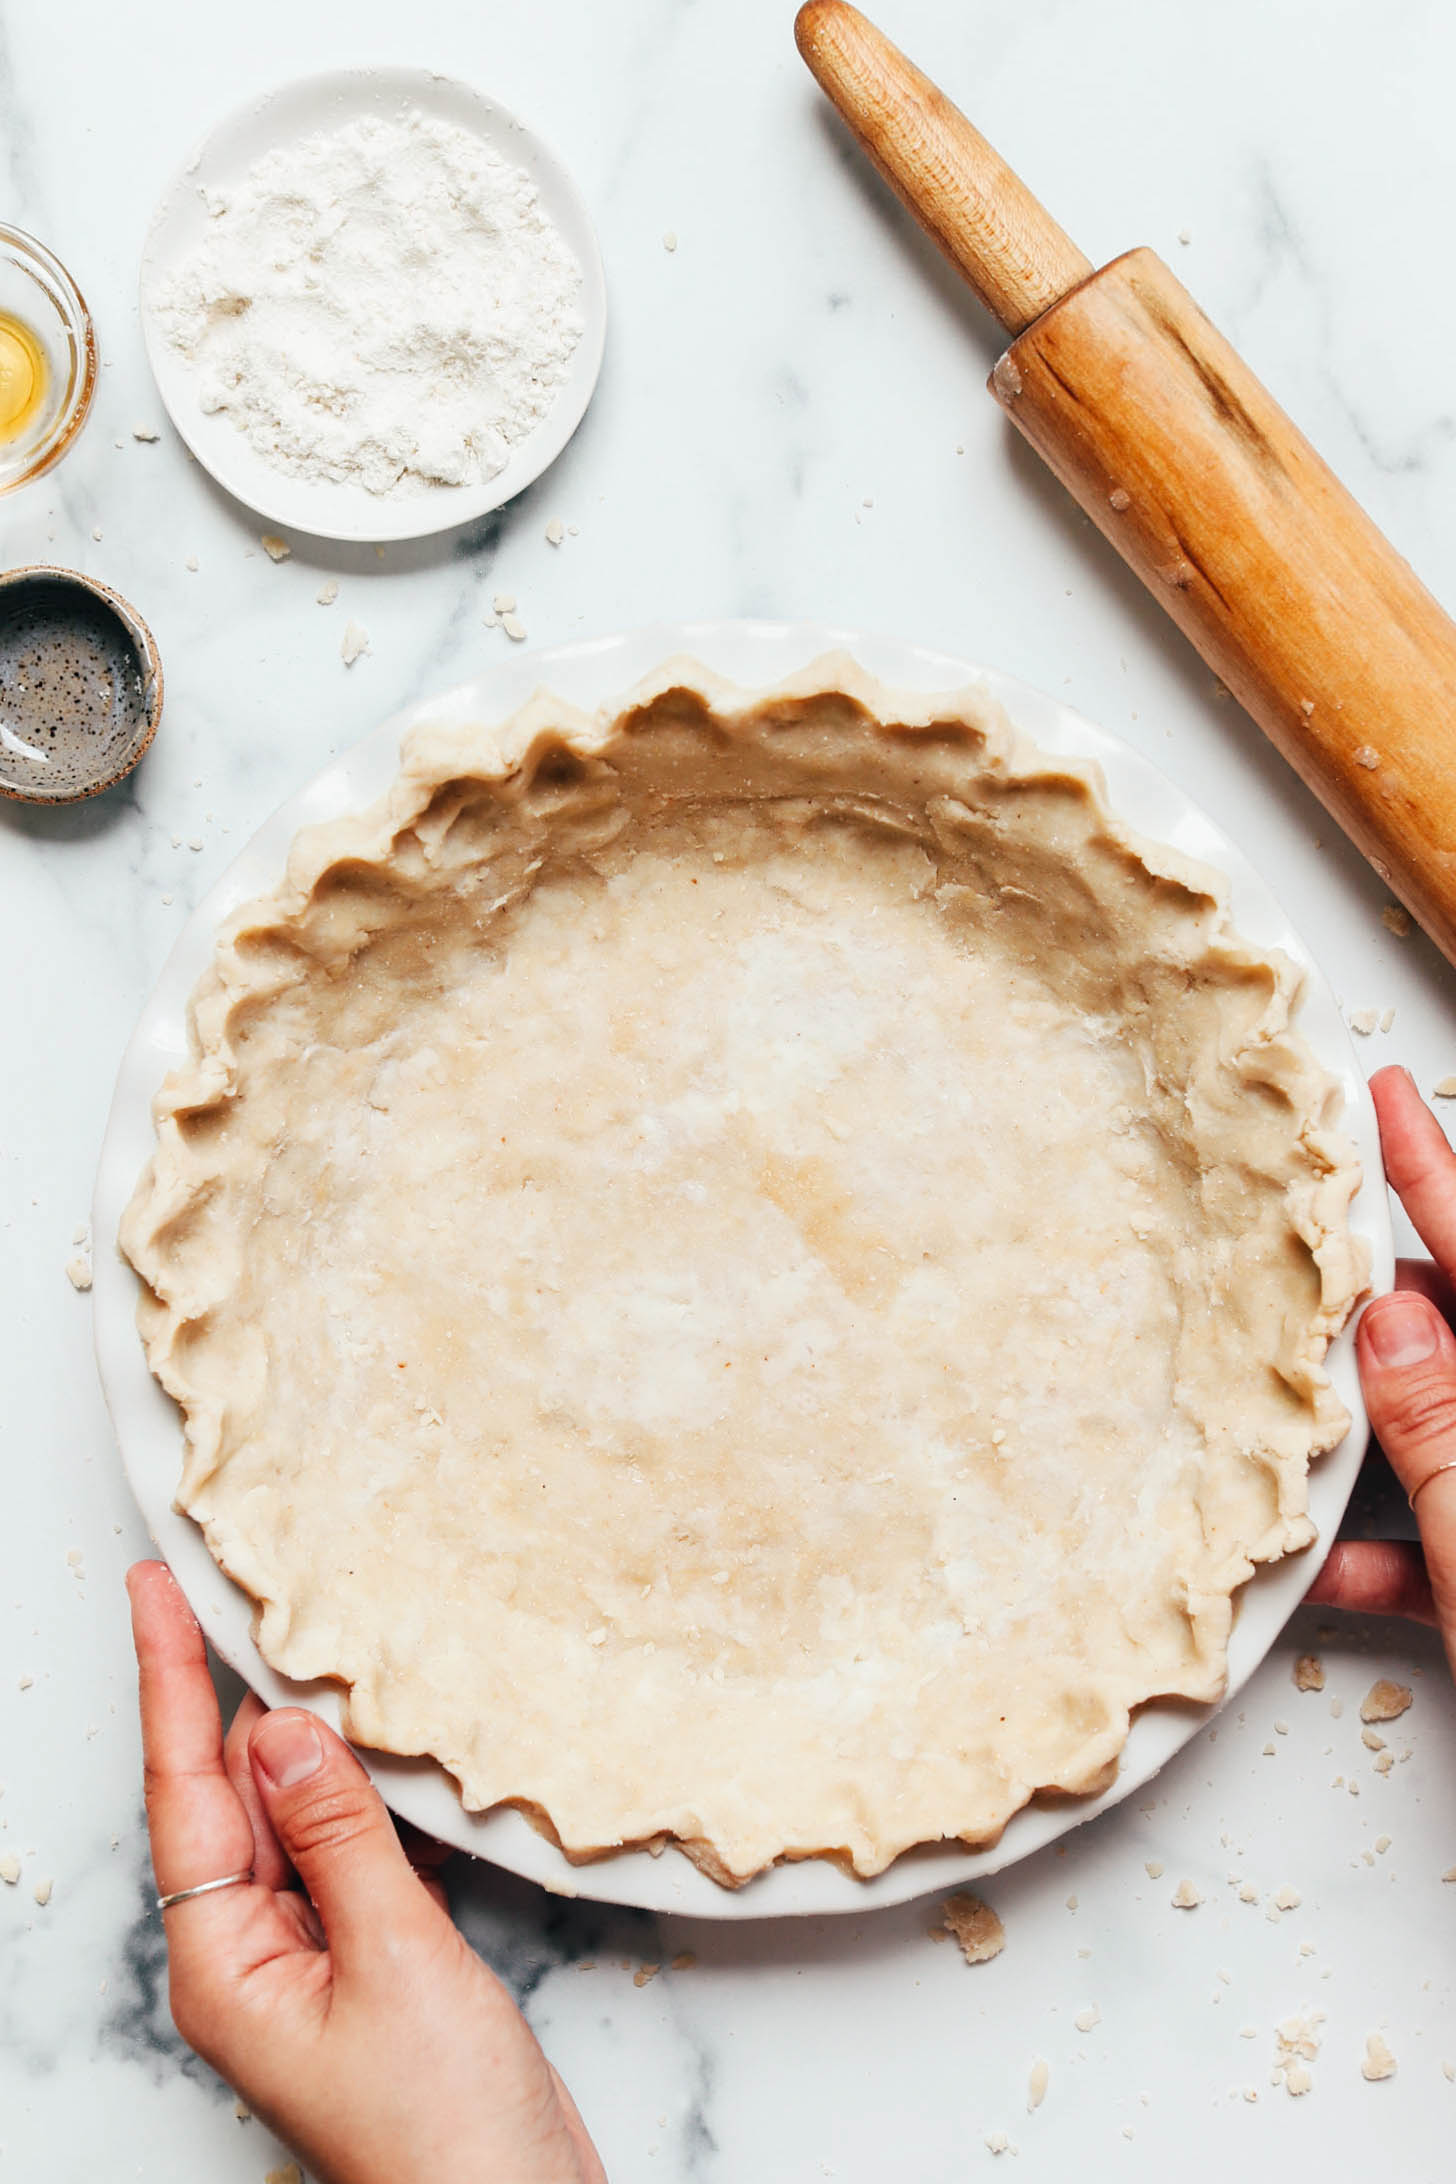
- The Courageous Flip: Once rolled, gently peel off the top parchment paper, invert the dough into your pie dish, and carefully remove the second piece of parchment. Smoosh out any remaining cracks, crimp the edges for a classic look, and get ready for the next crucial step.
- Par-baking is Paramount: For a truly crisp and tender bottom crust (especially with wet fillings), par-baking (or blind baking) is non-negotiable for gluten-free crusts. Bake the empty crust for 15-20 minutes before adding your filling. This prevents sogginess and ensures a beautifully golden, fully cooked base.
For a more detailed, step-by-step guide to achieving this perfect crust, be sure to check out our article on How to Make Flaky Gluten-Free Vegan Pie Crust in 4 Simple Steps.
From Sweet Dreams to Savory Sensations: Endless Pie Possibilities
Sweet Indulgences:
Imagine the possibilities for dessert! This crust holds up beautifully to creamy and fruity fillings alike:
- Classic Fruit Pies: Apple, cherry, berry, or peach pies will shine with this tender, flaky base.
- Creamy Delights: Coconut cream pie, chocolate silk pie, lemon meringue pie (vegan style!), or a rich banana cream pie find their perfect partner.
- Holiday Favorites: Pumpkin pie, sweet potato pie, or a decadent salted chocolate pecan pie will be elevated to new heights.
- Unique Creations: Pear and ginger, cranberry apple, or even a healthy pecan pie with less added sugar.
Savory Masterpieces:
Don't limit yourself to dessert! This sturdy yet delicate crust transforms into an excellent base for savory dishes, bringing comfort and flavor to any meal:
- Hearty Pot Pies: Chicken-style or vegetable pot pies become deeply satisfying.
- Elegant Quiches: Spinach and mushroom, roasted vegetable, or a classic Lorraine-style quiche.
- Garden-Fresh Tarts: Tomato and basil tarts, kale and feta (vegan version) tarts, or any seasonal vegetable tart will impress.
For more inspiration on pairing this incredible crust with various fillings, delve into our guide: The Best Vegan Gluten-Free Pie Crust for Sweet & Savory Pies.
Troubleshooting & Tips for Pie Crust Success
Even with an "easy" recipe, baking is an art that benefits from a few insider tips:- Know Your Flour: While almond flour is generally consistent, slight variations can occur. If your dough feels too dry and crumbly, add water in half-tablespoon increments. If too sticky, a tiny bit more almond flour can help.
- Listen to Your Dough: The goal is a dough that's soft and pliable but not sticky. It should hold together when pressed and not fall apart.
- Embrace Imperfection: Don't stress over tiny cracks during rolling. Gluten-free doughs can be a little more delicate. Simply press them together or use a small piece of excess dough to patch. Once baked, these minor imperfections disappear.
- Cool Completely Before Slicing: Especially for fruit pies, allowing the pie to cool completely (or even chill) before slicing helps the filling set and prevents a messy collapse.
- Storage Savvy: Unbaked pie dough can be refrigerated for a few days or frozen for longer. Baked crusts can also be frozen, wrapped tightly, for future use.
This vegan pie crust gluten free is truly a triumph of inclusive baking. It removes the barriers that often deter those with dietary needs from enjoying the simple pleasure of a homemade pie. With its flaky texture, buttery essence, and oil-free composition, it's not just a substitute; it's a superior choice that will delight everyone at your table.
